
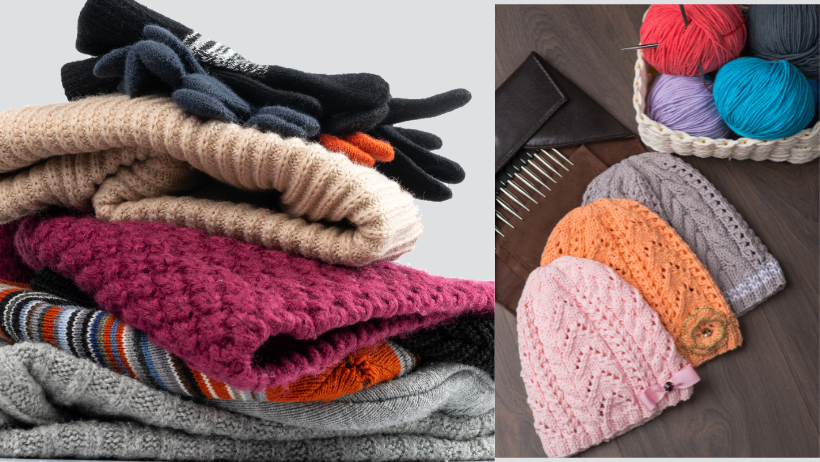
I was talking with someone about hat math recently and I wanted to put my thoughts down for other people curious about how easy it is to write your own hat patterns. The plain vanilla knitting between the cast on row and the crown decreases is a great canvas for expressing your own creativity. You can create your own lace motifs, use traditional fair isle peeries or icelandic snowflakes and add them between the cast on and bind off.
I think you’ll be surprised how easy it is to knit a hat of your own design and calculate the decreases in the crown of a hat. It’s pretty simple once you practice a few times and the method sets you free to knit hats exactly as you want.
This discussion is broken up into two parts. The first part addresses the equation that relates Gauge, Finished Width and Stitches Cast on with a few examples to show how to use the equation. Use this method to determine what number of stitches to cast on using your favorite needles and yarn.
Use the second discussion after you’ve calculated the number of stitches cast on. It goes over the actual hat decreases with examples of numbers you’ll probably come across when making an adult sized hat.
Part One: The Equation
Equation:
Finished Width * Gauge = Stitches Cast On.
For example:
1. You want a 22” hat at 4.5 st/in. How many sts do you cast on?
22in*4.5st/in = Stitches Cast On = 99.
2. You want to determine the stitch gauge for a finished hat. It had 72 stitches cast on and is 20 inches wide. Plug your numbers in the equation above.
20in*Gauge=72sts;
Solve for Gauge by dividing 72 by 20:
Gauge = 72/20 = 3.6 st/in.
3. You want to calculate the width of a child’s sweater (or large headed adult–due to their big, big brains) using the Gauge and the Stitches Cast On. Gauge is 4st/in and you cast on 100 sts. Again plug the numbers into the equation as before.
Finished Width * 4 st/in = 100 st
Solve for Width by dividing 100 by 4.
Finished Width = 100/4 = 25inches
Part Two: The Decreases
Once you have calculated the basic information on your hat you need to decide on how to work the decreases at the crown. Knitting is so forgiving it is okay to adjust the stitch counts to get a number that is evenly divisible. Typically hats use stitch counts that are divisible by 12, 11, or 10. That translates to *k10, k2tog*, *k9, k2tog* or *k8, k2tog* as your first decrease rows.
For example:
Let’s say you want to make a 22 inch hat with a gauge of 4.5st/in. That gives a cast on of 99 stitches. But 99 isn’t divisible by 12, or 10. So what do you do? 99 is divisible by 11. That means after you knit about 6 inches from the cast on edge you’re ready to decrease. Well how do you know what to use on the first row? We already know that 11 goes into 99 without any leftover numbers, and that number is 9. So each decrease row will decrease the entire stitch count by 9.
In order to get the right numbers the first decrease must include all 11 stitches and a k2tog. Subtract 2 (for the k2tog) from 11 and you have 9 plain knit stitches.
So the first decrease row is
Row 1 *k9, k2tog* around the entire row.
Row 2 work a plain row of knitting.
The next row is a bit easier. You just subtract 1 from 9 because there is one less stitch in other words before you had a grouping of 11 stitches after the decrease row that group of 11 became 10. And 10 – 2 for the k2tog is 8.
So the second decrease row is
Row 3 *k8, k2tog* with 81 stitches remaining.
Row 4 Knit a plain row
Row 5 *k7, k2tog* 72 sts left over
Row 6 Knit a plain Row
Row 7 *k6, k2tog* 63 sts
Row 8 Plain Row
Row 9 *k5, k2tog* 54 sts
Now since we’re around 50 stitches you can decrease every row without the plain rows inbetween.
Row 10 *k4, k2tog* 45 sts
Row 11 *k3, k2tog* 36 sts
Row 12 *k2, k2tog* 27 sts
Row 13 *k1, k2tog* 18 sts
Row 14 *k2tog* 9 sts
Cut yarn and pull it through the last 9 stitches. Weave in the ends and you’re finished!
Now let’s say you want to make a hat with 72 stitches cast on and you need to know how to work the decreases. Let’s look at decreases divisible by 12, 11, and 10. 12 goes into 72 a total 6 times. That means each decrease row will lose 6 stitches. Each decrease section must add up to 12, so as before we’ll subtract 2 for the k2tog. Using that logic the first decrease row will look like
Row 1 *k10, k2tog* 66 sts
Row 2 Plain Row
And then we subtract 1 from each previous decrease row to account for the stitches that went away.
Row 3 *k9, k2tog* 60 sts
Row 4 Plain Row
Row 5 *k8, k2tog* 54 sts
Then as we discussed in the previous example you can decrease every row when you have about 50 stitches. The remaining rows are just like the ones above except the number of stitches remaining are different.
Row 6 *k7, k2tog* 48
Row 7 *k6, k2tog* 42 sts
Row 8 *k5, k2tog* 36 sts
Row 9 *k4, k2tog* 30 sts
Row 10 *k3, k2tog* 24 sts
Row 11 *k2, k2tog* 18 sts
Row 12 *k1, k2tog* 12 sts
Cut the wool and run through the remaining 12 stitches.
Now you’re ready to work on your own! Let’s assume you have a hat that has 80 stitches cast on. Which number (10, 11 or 12) goes into 80 and using that what is your first decrease row?
Finally, when you are using the first equation: Finished Width * Gauge = Stitches Cast On and you get a number that isn’t divisible by 10, 11, or 12 you can add or subtract stitches to make it work with those numbers. If you find a number that does not work with 10, 11 and 12 but it is evenly divisible (meaning no decimals) by your cast on stitches you should create your own decrease rows by subtracting 2 from the divisible number.
Let’s use a cast on of 91 as an example. 91 is divisible by 13. And the first decrease row is *k11, k2tog* leaving 78 sts. Write out each decrease row. First calculate 91-13 to find the new stitch count, and subtract 13 from each subsequent decrease row until about 50 stitches remain. Then decrease every row until few enough stitches remain to bind off.
Give it a try, you might be surprised to find out how easy it really is in the end!